Tau Ultramarine Battle Turn 6

The Rip tide (one wound remaining) retreated behind the ruins. The Tau force focuses on the Tactical Squads, who were now in range of more of their guns. in the shooting phase taking all but the marine armed with the Lasconnon. turn6marineshoot, tau riptide

The Marines responded by marching forward and focusing their fire on the remaining Fire warriors and pathfinder. Exacting a heavy toll on each squad but removing none of them. The assault squad managed assault one of the remaining fire warrior squads without taking heavy casualties from overwatch, but didn’t managed to wipe them out.

I let the Tau player roll for game end, but we continued into turn 7.

End of turn 6 victory points.

Tau:6 Marines:3

Turn 7

Tau Ultramarine Battle Turn 5

Turn 5 started much like the previous turn. The Rip tide and Crises suits moved into optimum firing positions. Then the Tau let their guns blaze. Without the Storm Raven to soak up the fire-power the Assault squad boar the brunt of the Tau’s volley loosing three marines. The tactical squad with a las canon took a lot of fire, but no casualties due to some lucky dice rolls. That was all the Tau managed to dish up in their turn. Surly the Emperor was looking over the Ultramarines.

turn5tau


The Storm Raven came back from reserve and lined up for another strafing run. The Assault and Tactical Squads all advanced towards their quarry, ready to assault and rapid fire respectively.

turn5The Devastators were struggling for range in the shooting turn, but given how effective the frag missiles were proving they were happy to send more volleys towards the Fire warriors. Joined by supporting fire from the tactical squads a complete fire warrior team was removed.  The Storm Raven fired all it’s guns at the Rip tide but only managed to remove one more wound.

marine overwatch

In the assault phase the assault squad charged the path finder team lead by Dark Strider. Strider cut down another assault marine with over watch. His squad then promptly ran 3d6 towards the main Tau force (a bone of contention given this move should have been d6).

turn5tauretreat

I was left wondering how I was meant to get in to close combat with the Tau.

End of turn 5 Victory points Tau: 6 Marines: 2

I rolled the dice to see if the game would continue and got a 3. There was still a chance the marines could salvage some honour.

Turn 6

Deep striking Assault squad

Tau Ultramarine Battle Turn 4

The Tau continued to hammer the Ultramarines with their guns in turn 4. The Storm Raven took multiple hits, but due to poor dice rolls it emerged unscathed. The Tau had their vengeance by removing the Land Speeder’s remaining hull point; with small arms fire from the Fire warriors. The Commander and his body guard made shot work of the Ultramarine Captain and the two remaining Assault Marines. The Captain Failed all his Iron Halo saves.  Two more Victory points to the Tau and the threat on their left flank nullified.Tau Ultramarine BattleThe second Ultramarine Assault sqaud droped from the sky at the start of their turn. Having abandoned their right flank the Ultramarines used the extra squad to consolate a hold on the left. The Storm Raven was out of targets so flew off the board to return as an ongoing reserve. The Tactical squads continued to advance, in order to try and push the tau back. The Devastators squads started to use flack missiles on the Firewarrior and pathfinder squads, as out of range of larger targets. Combined with the bolter fire from the Tactical squads each of the tau squad was forced to take a break test, which they all passed.

Deep striking Assault squad

The 2nd Assault squad arrives from reserve and targets the closes path finder squad.

Deap strikeEnd of turn 4 Victory points Tau: 6 Marines: 1


Turn 5

Tau Ultramarine Battle Turn 3

The Tau received their remaining reserves at the start of turn 3 in the form of the Commander and Crisis team. The movement phase was more a case of repositioning than moving.

Crisis team, Rip tide, Assault Squad, Storm Eagle, tau riptideIn the tau shooting phase a heavy toll was taken by the Space Marine Command and his assault squad, killing 5 of their number, including the flamer.

turn3tauAsu

The bike squad also fell to the combine fire power of the Tau right flank, although their toughness of 5 meant this required all the tau had to offer. This also gave the Tau player 1st blood and therefore 2 victory points.Hammerhead

The Ultramarines looking more like a divided force than a pincer movement. At this point in the game it was 2-1 to the Tau but I already felt beat. Determined not to get down cast I decided to advanced as fast I could towards the Tau’r right flank and try and overwhelm them with the what I had left on their weaker side (hoping the faster forces on the left flank wouldn’t be able to close the gap too quickly.  The Forward Tactical squad moved up to the cover of more ruins. The tactical squad deployed with the Quad gun moved up to the large ruined building in the centre of the board, where the scouts had been reduced to one man. The Scout Sargent took up position on the Quad gun. While the tactical squad from the Drop pod took up position behind the Agsis defence line with the devastators  The Land Speeder moved to 11″ from the Hammer head which was now down to 1 hull point thanks to the bike squads suicide attack. The Storm Raven chases the Rip tide into the Tau line. Having shoot most of the Broad side squad last turn 2 wasn’t going to waste all it’s fire power on a single broad side.turn3marinemove

tau riptide, tau, ultramarinesThe Ultramarine shooting phase went fairly well. The Land speader blew up the Hamerhead in the 3″ cloud of melta and shrapnel. Most of the rest of my firepower made very little of a dent in the tau force. I was concentrating every thing with a heavy weapon on the larger Tau suits, tying up most of my fire power. The Storm Raven took 3 wounds off the Rip Tide.

assualt squad vs crisis team

The assault squad took a single drone away form the crisis team. And then promptly assaulted them. This turned out to be a big mistake. The combined Over watch of the Broad side, who where with in 6 inches of the Crisis team and the Crisis team itself, which was hitting on 5 due to some lovely Tau upgrade, cut down 3 more assault marines! To put the final nail in the coffin, I  then proceeded to roll a 4, instead of the 7 they needed for their charge range (having used their jump packs in movement phase to get make sure I wasn’t too far away that I wouldn’t fail my charge. This was not looking Good.

End of turn 3 Victory points Tau 2(inc 1st blood) Marines 2(inc line breaker).


Rip Tide

Tau Ultramarine Battle Turn 2

Reserves. Turn one is always a bit of a non event in games which have a lot of the forces held back. Turn two is when it get a bit more exciting.

tau, tau riptide
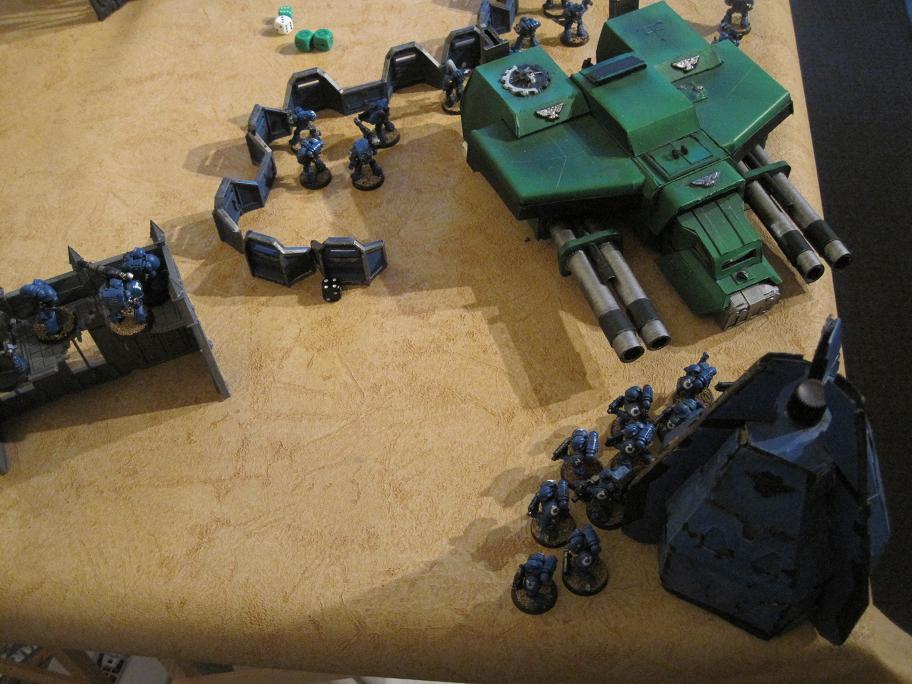
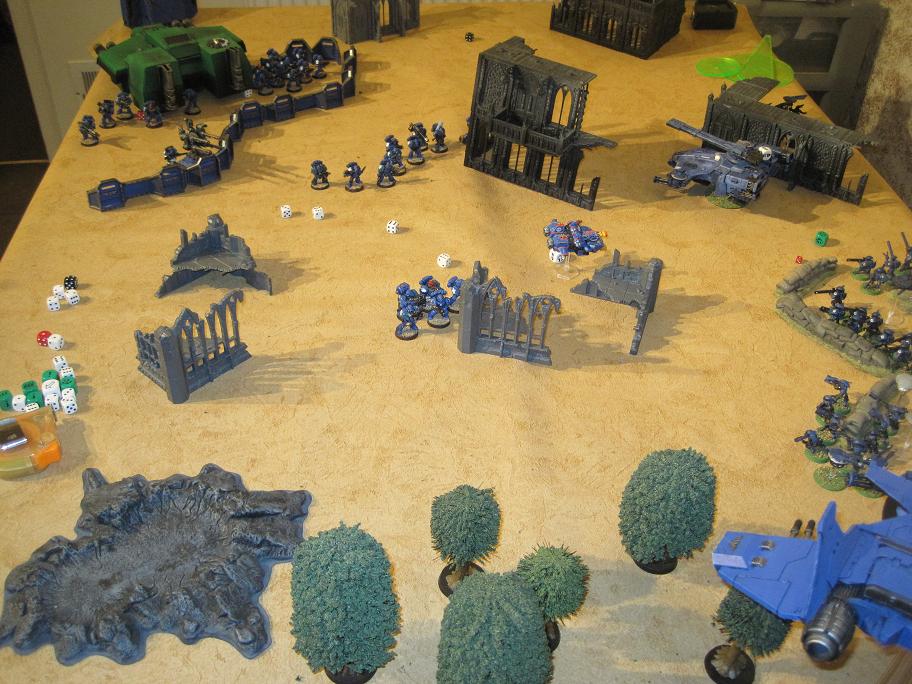
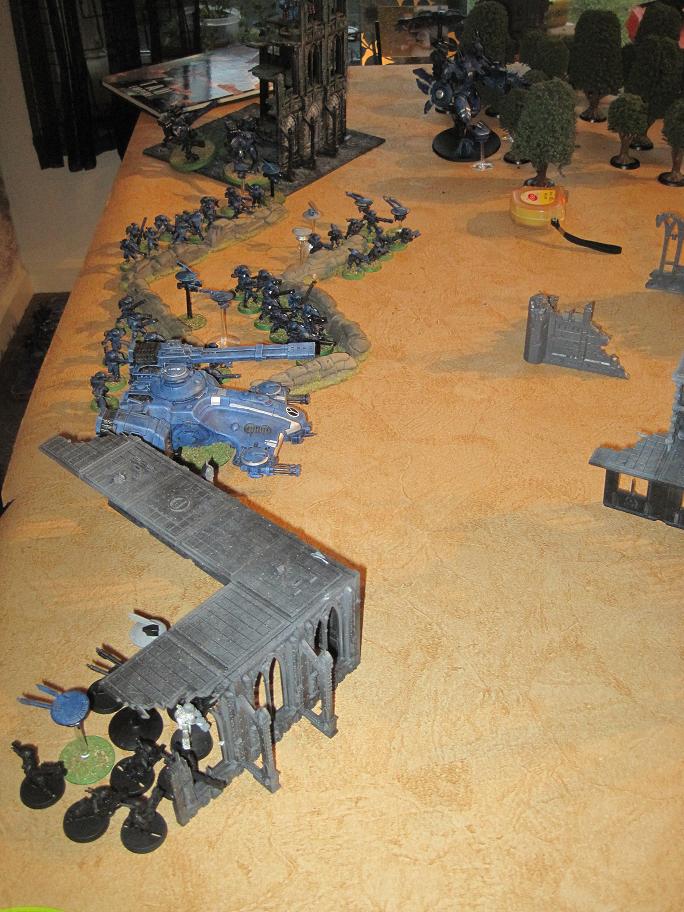
Unfortunately for me the Tau did rather well on their reserve rolls. Suddenly the game looked very one sided. The other pathfinders team,  both Fire warriors teams and a Hammerhead arrived on the battle field. At least there would be no shortage of targets for my guns.

tau riptide, tau
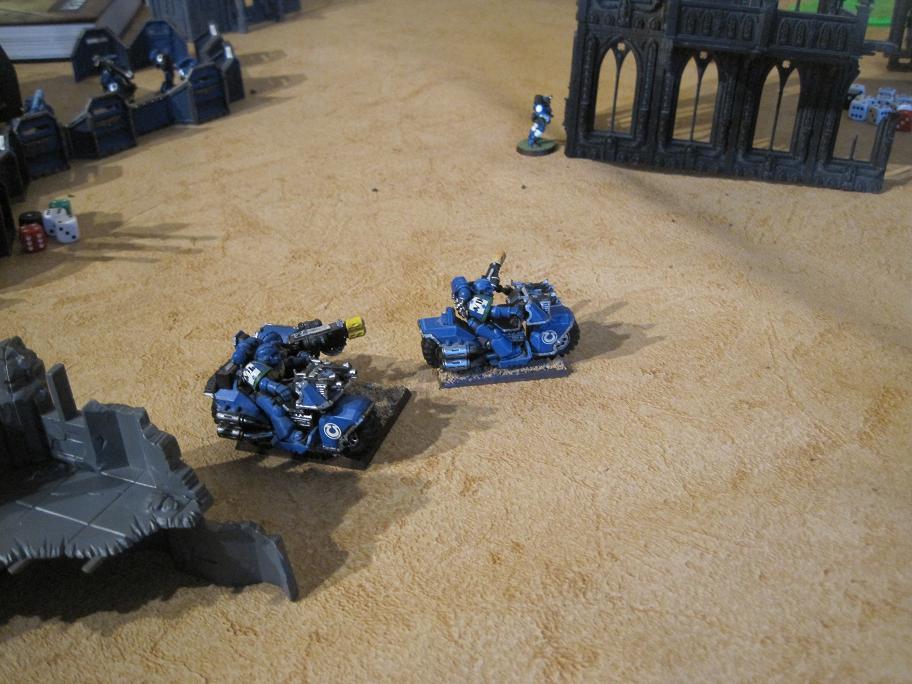
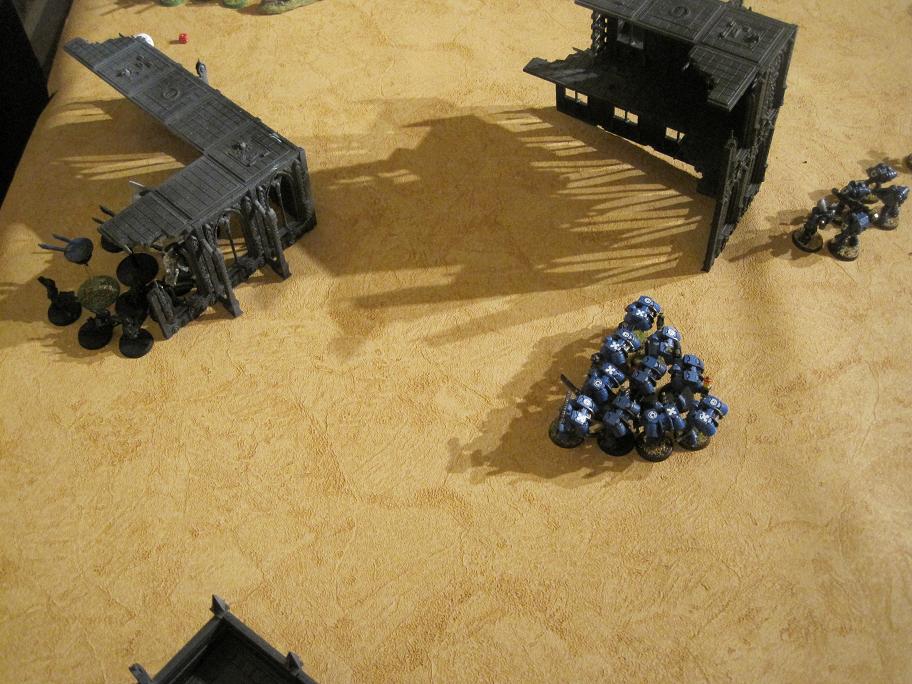
The Tau wasted no time in letting rip. The bile squad and scouts took the brunt of the the Tau Fire. Two more bikes were lost including the Sargent in Mk6 power armour. The Rip tide was a big contributor to the bikes demise. This left only the melta gun and multi melta (due to some careful placement in turn one). Two more scouts were killed leaving only the scout Sargent remaining. I was on the edge of my seat fully expecting one more failed save to result in 1st blood. If all the Tau fire-power had been directed at the scouts I’m sure this would have been the case.

turn2taushoot

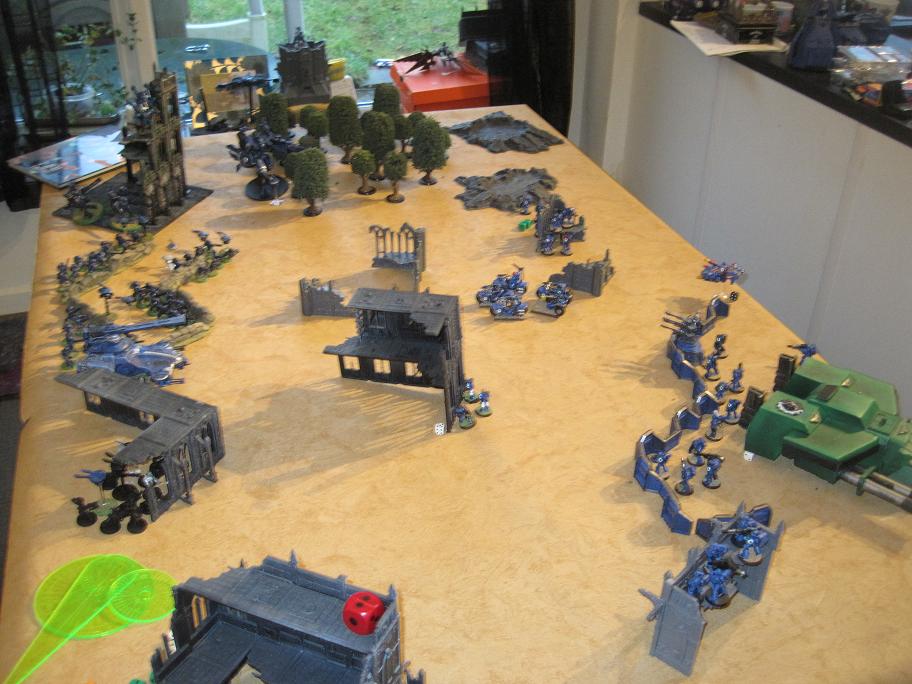
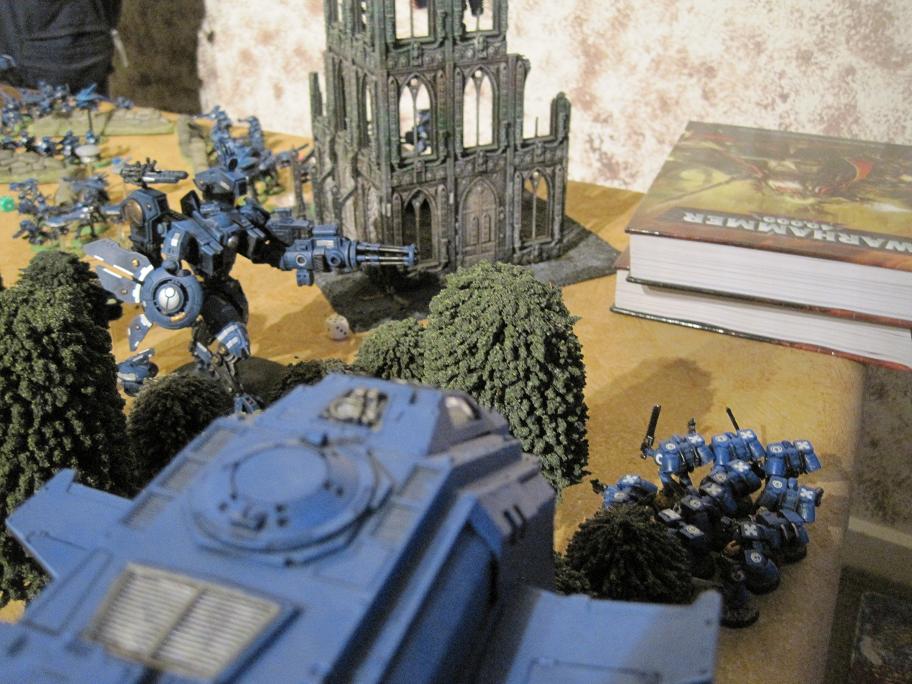
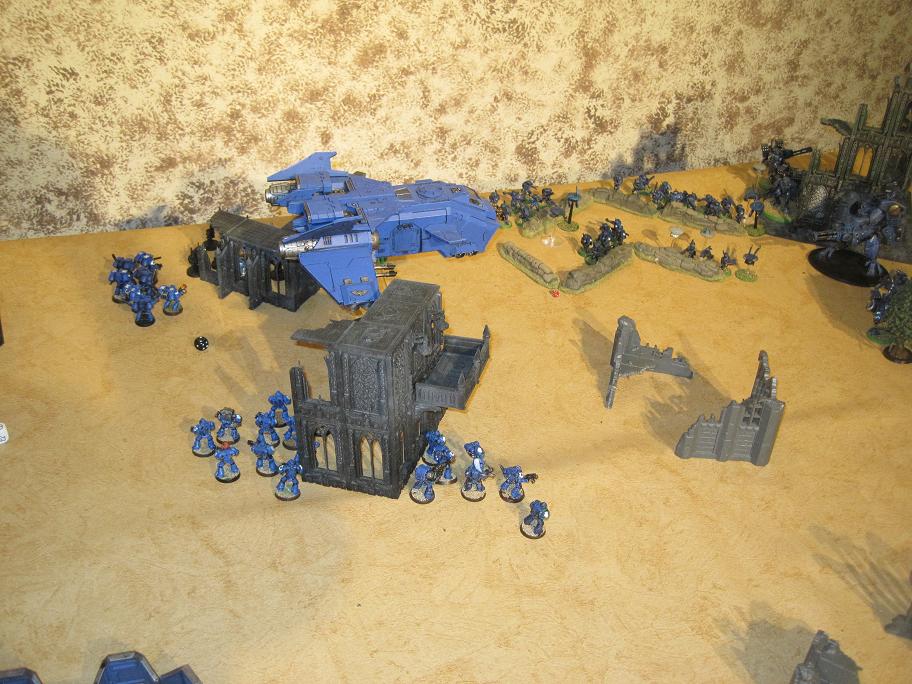
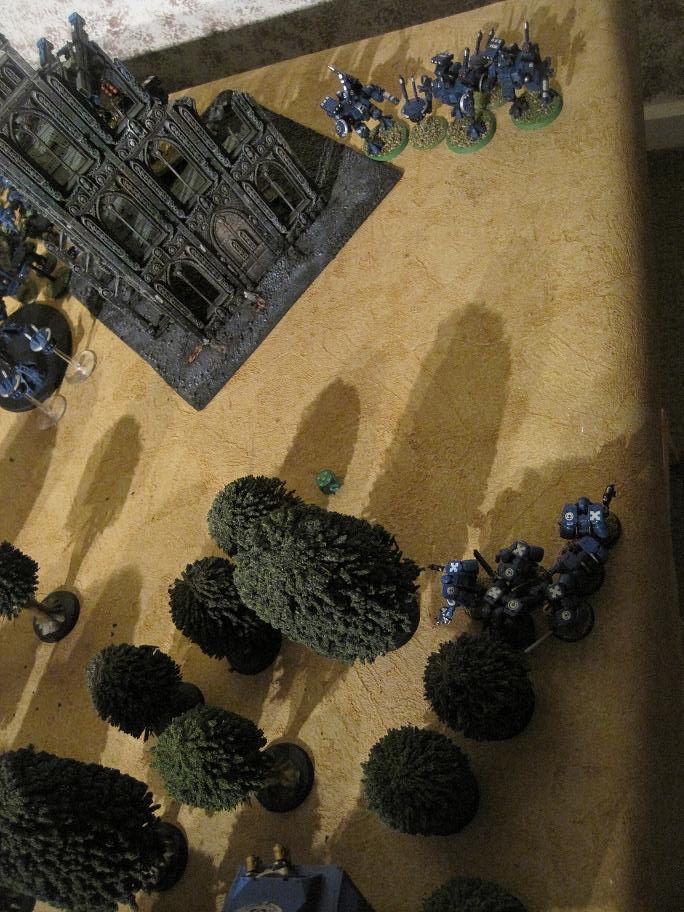
The Marine reserves did go quite as well. While all but 1 assault squad arrived, where things arrived caused more drama. I rolled deep strike for the assault squad 1st. Having never fought the “Tau empire” before I though a flank assault would be the best way to cripple them. Picking off the big guns with assault troops is the never a bad move. The Assault squad scattered almost off the table. The Storm Raven(which looks like a Storm Eagle) re-enforced the flank and eye up the biggest target on the board.Storm Eagle vs Tau Riptide, tau riptide

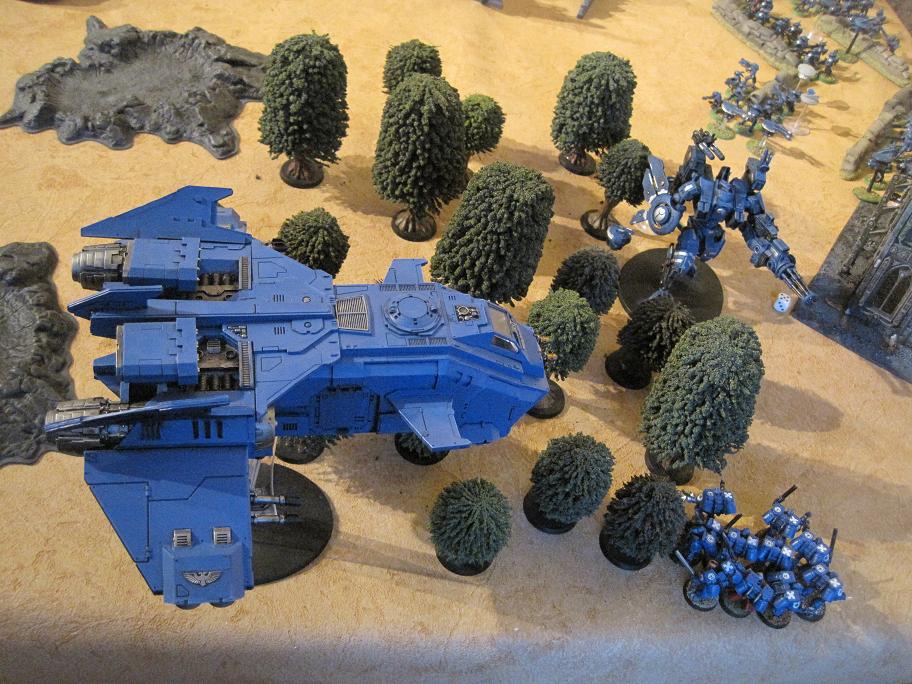
However the drop pod (forgotten on turn 1) did scatter off the table. If I had read it’s scatter rules before placing it I would have put it closer to the buildings. As it was the Tau player got to place it

right at the back of my deployment zone. 
turn2marinearrive

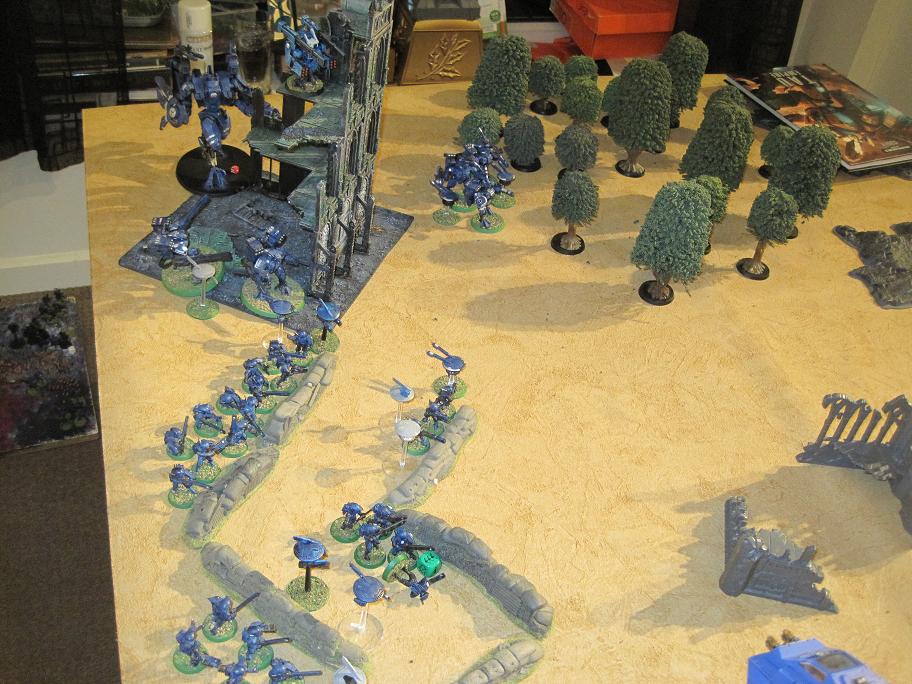
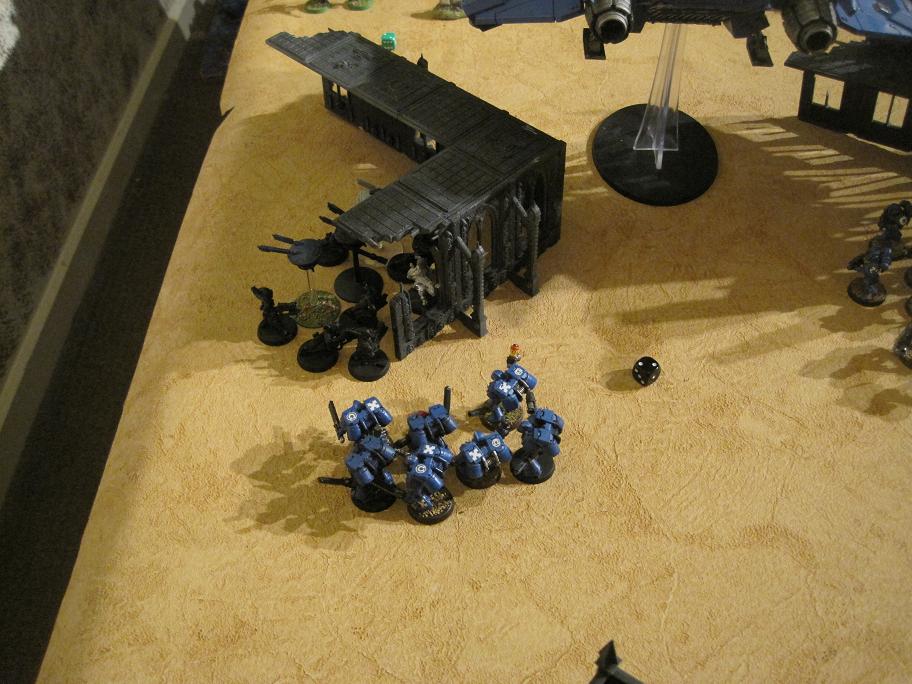
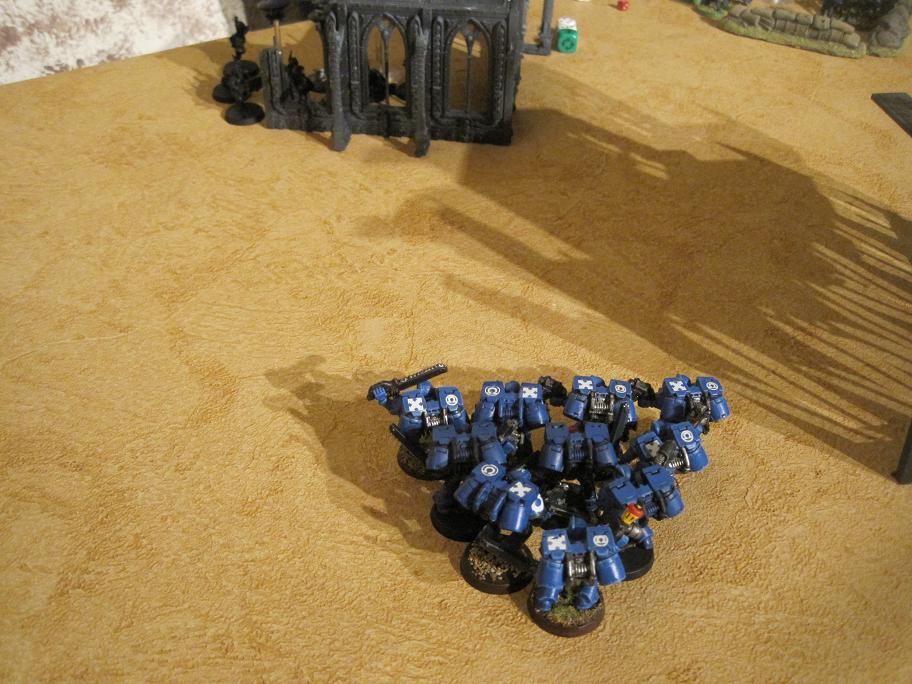
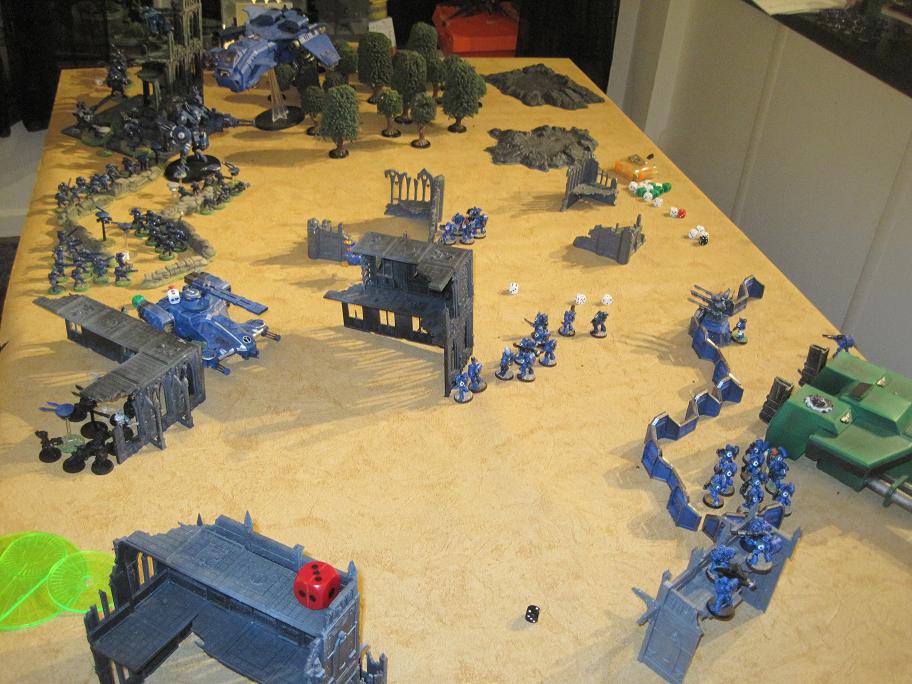
To make up for the Drop pods off target landing I pushed the other two tactical squads towards the Tau. As not to give away two victory points,  the sole scout sergeant retreated towards the safety of the Tactical Squad and agais line.

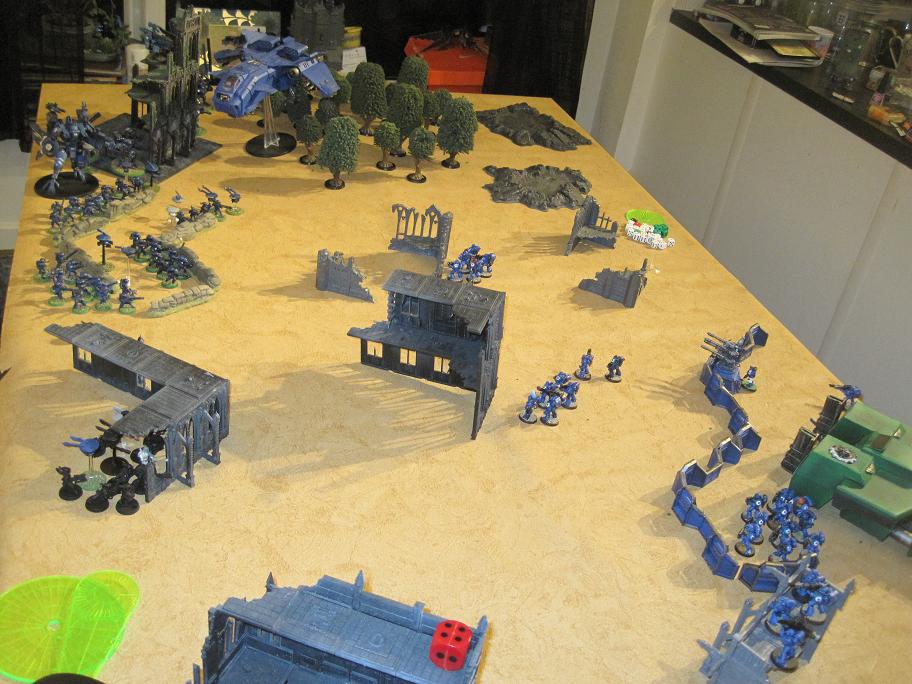
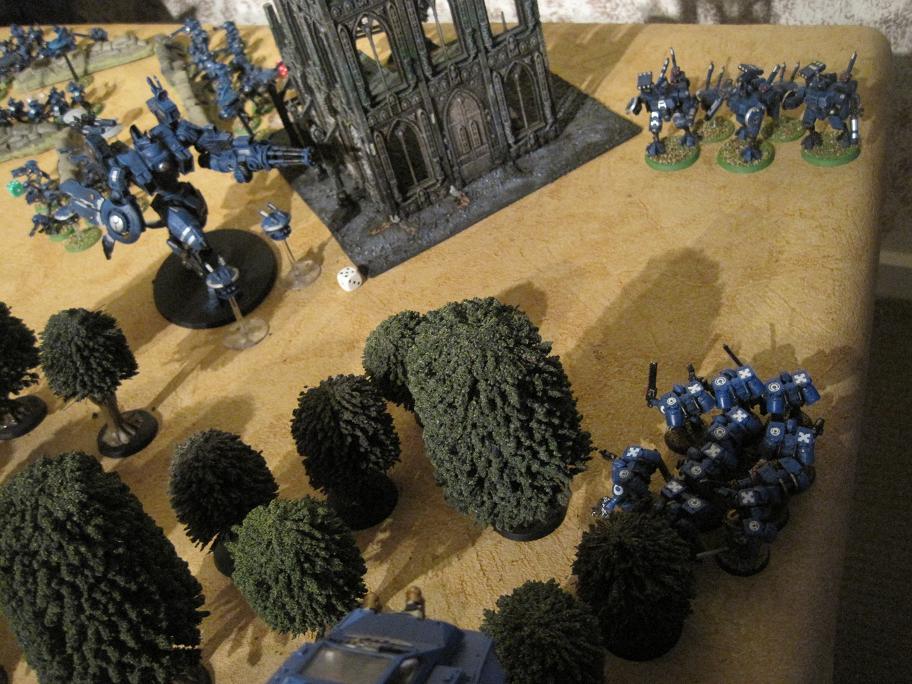
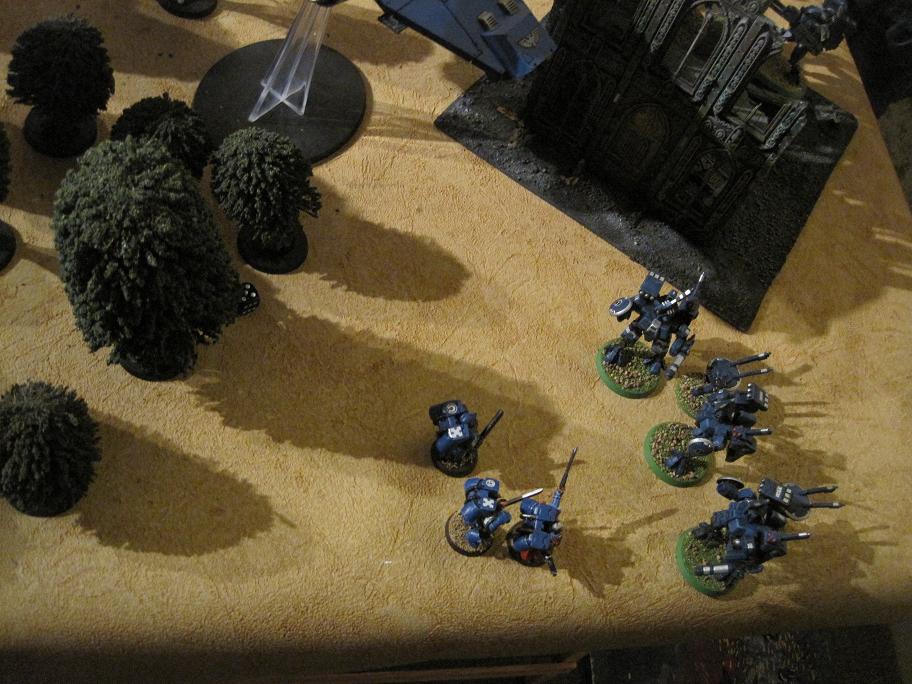
The Storm Raven targets the Riptide.
Rip Tide, tau riptideThe shooting turn faired somewhat better, but not much. The Assault squad let rip at the Riptide taking off 1 wound. The Storm Raven elected not to shoot the Rip tide, as 4 shots were very unlikly to remove it’s remainging 4 wounds, even with added it’s 4 Strength 8+ attacks.  This judgement proved to be right as I inflicted 2 unsaved wounds on the Broadside team in the ruins, which due to instant death rules got me first Blood.  Due to some very bad dice rolls the the bike squad and land speeder, and marines with heavy weapons only managed to remove 1 hull point from the Hammerhead.

Victory points: Tau = 0 Marines 3 including line breaker

Update later in the shooting phase my opponent realised he’d forgotten to deploy his drones with his Broad sides. Being of good sport I let him put a broadside back on the board.

Updated score: Tau = 0 Marines 1 including line breaker

Turn 3