Desert Battle War Game Table
Ben has been hard at work in his Christmas Break building a Desert Game Table for 40k. Ben had this to say.
I’ve been wanting a desert game board for a long time. The news that Gaz had to give his desert mat back to his brother convinced me it was time to stop wanting and commit some time to the desire.
To start of I wanted to try out and cost up a few alternatives. First in my mind was the GW Realm of Battle Game Board. Certainly the easiest way to go but also the most expensive and way beyond my budget and storage capacity.
The other alternative was F.A.T’s Urban Combat’ F.A.T. Mat. While it’s a lovely design and also a much cheaper alternative to GW realm of battle board, it’s beyond my budget due to international shipping cost almost doubling the price.
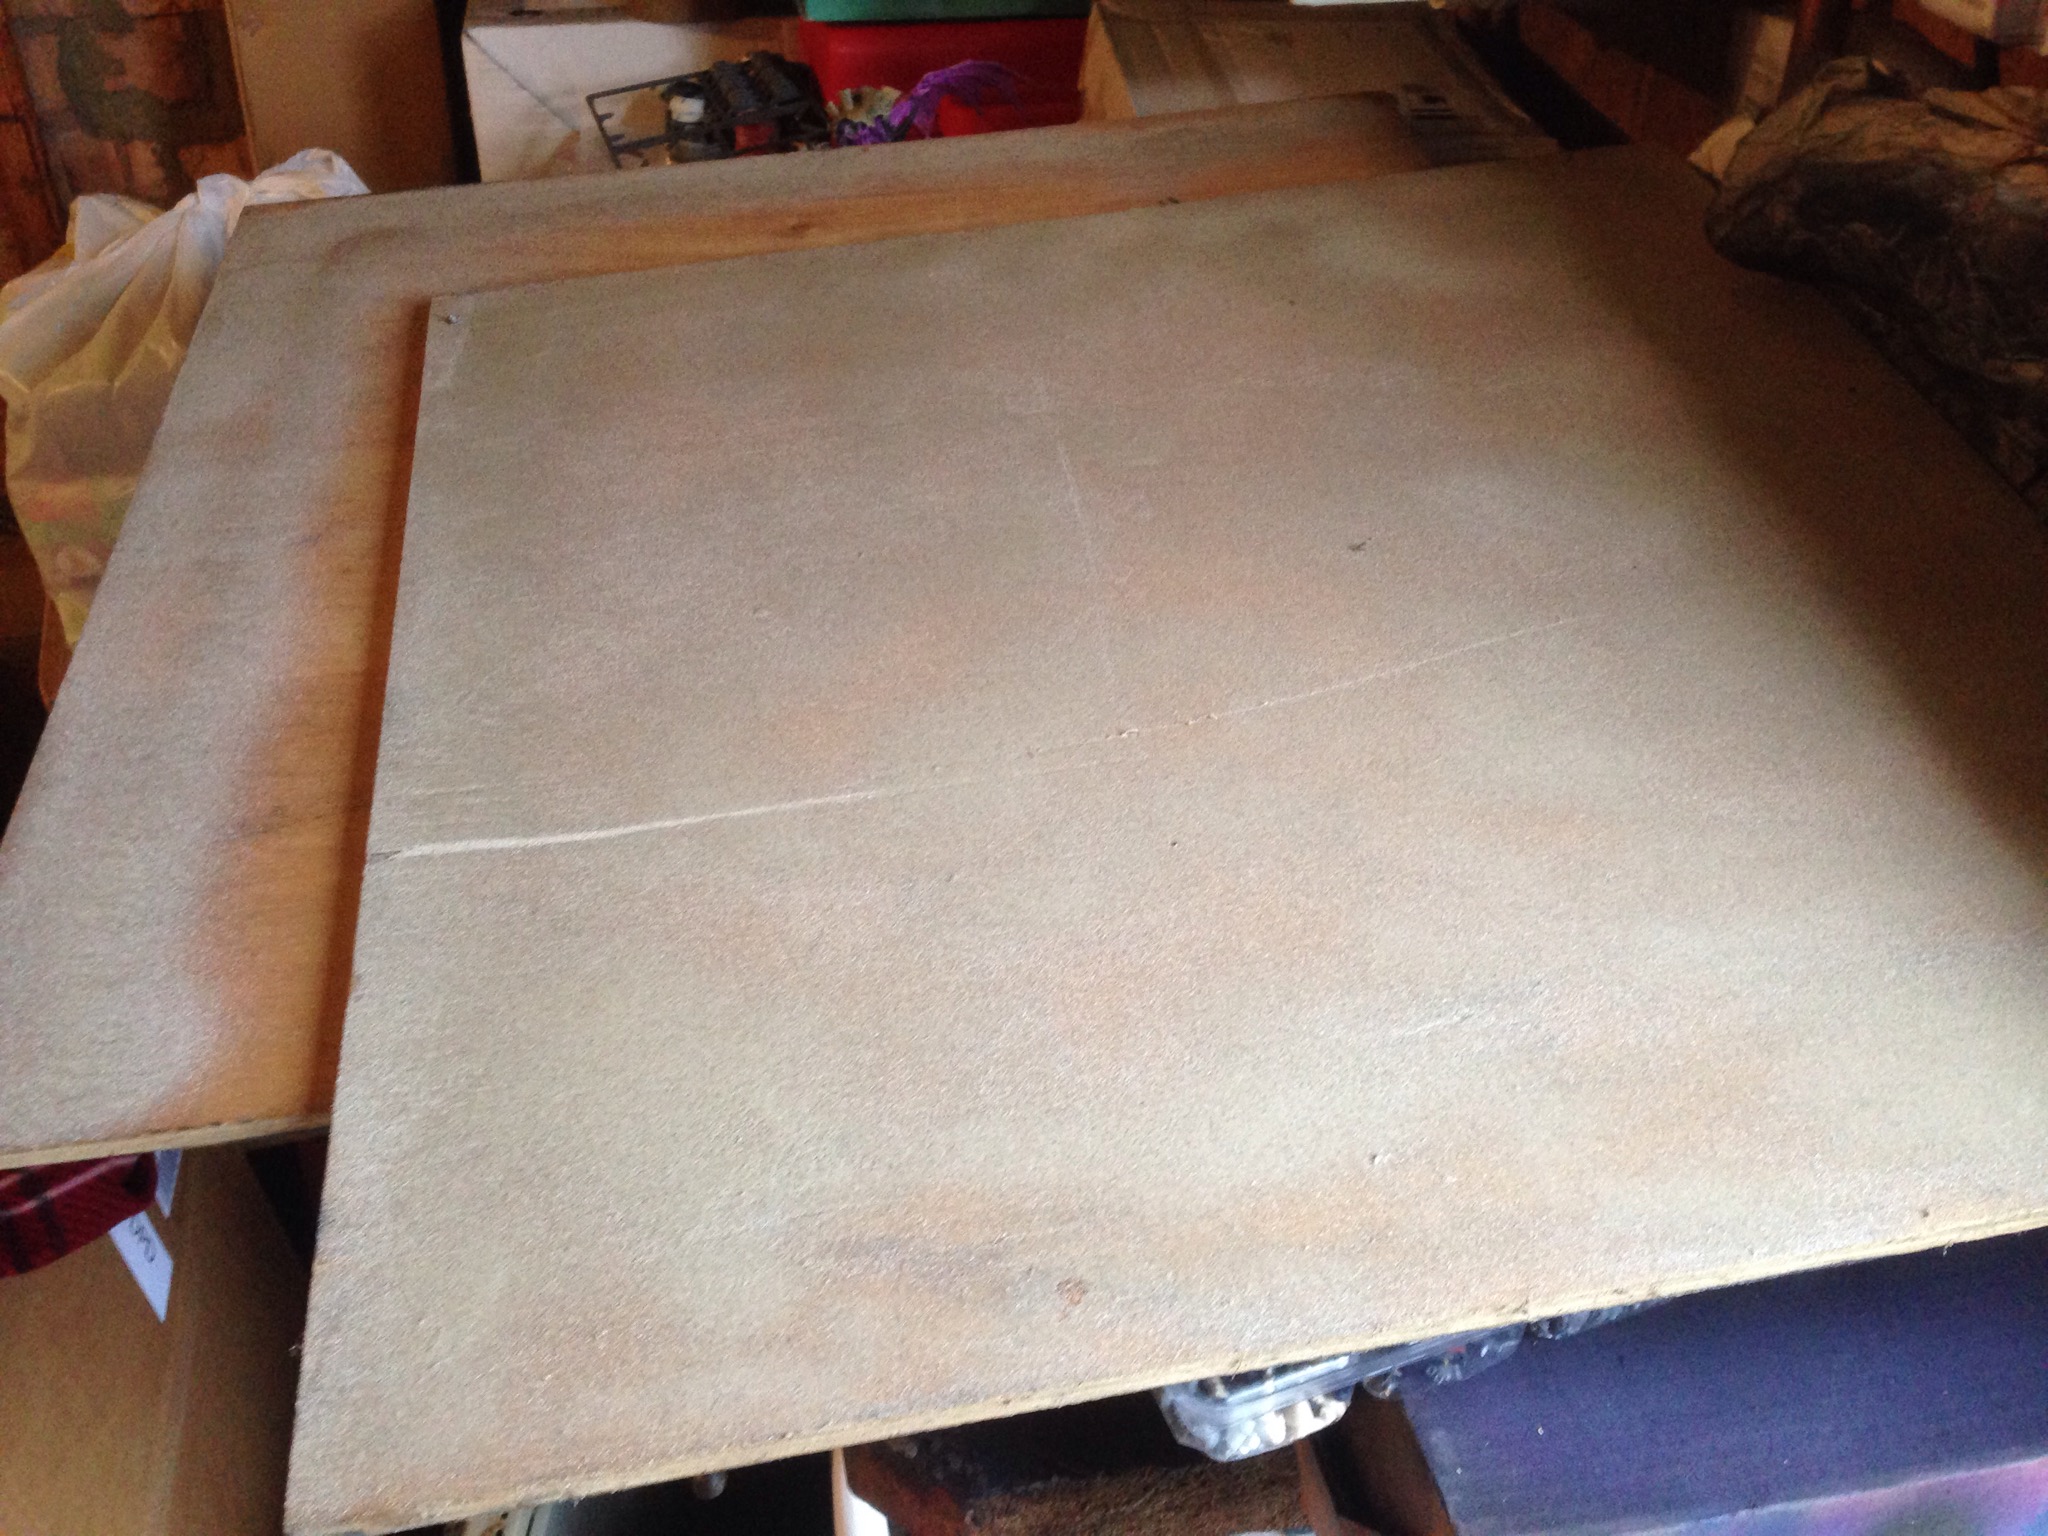
So the only option I had left was to upgrading my trusty old hardwood 6 by 4 board.
I looked at a few alternatives for how to create the sand effect. My hope was to use a few cans of spray sand. While the finish was promising the coverage of 1/6 of a table per can meant it was going to cost £60 to get the basic sand covered before even looking at additional paints and rocks.
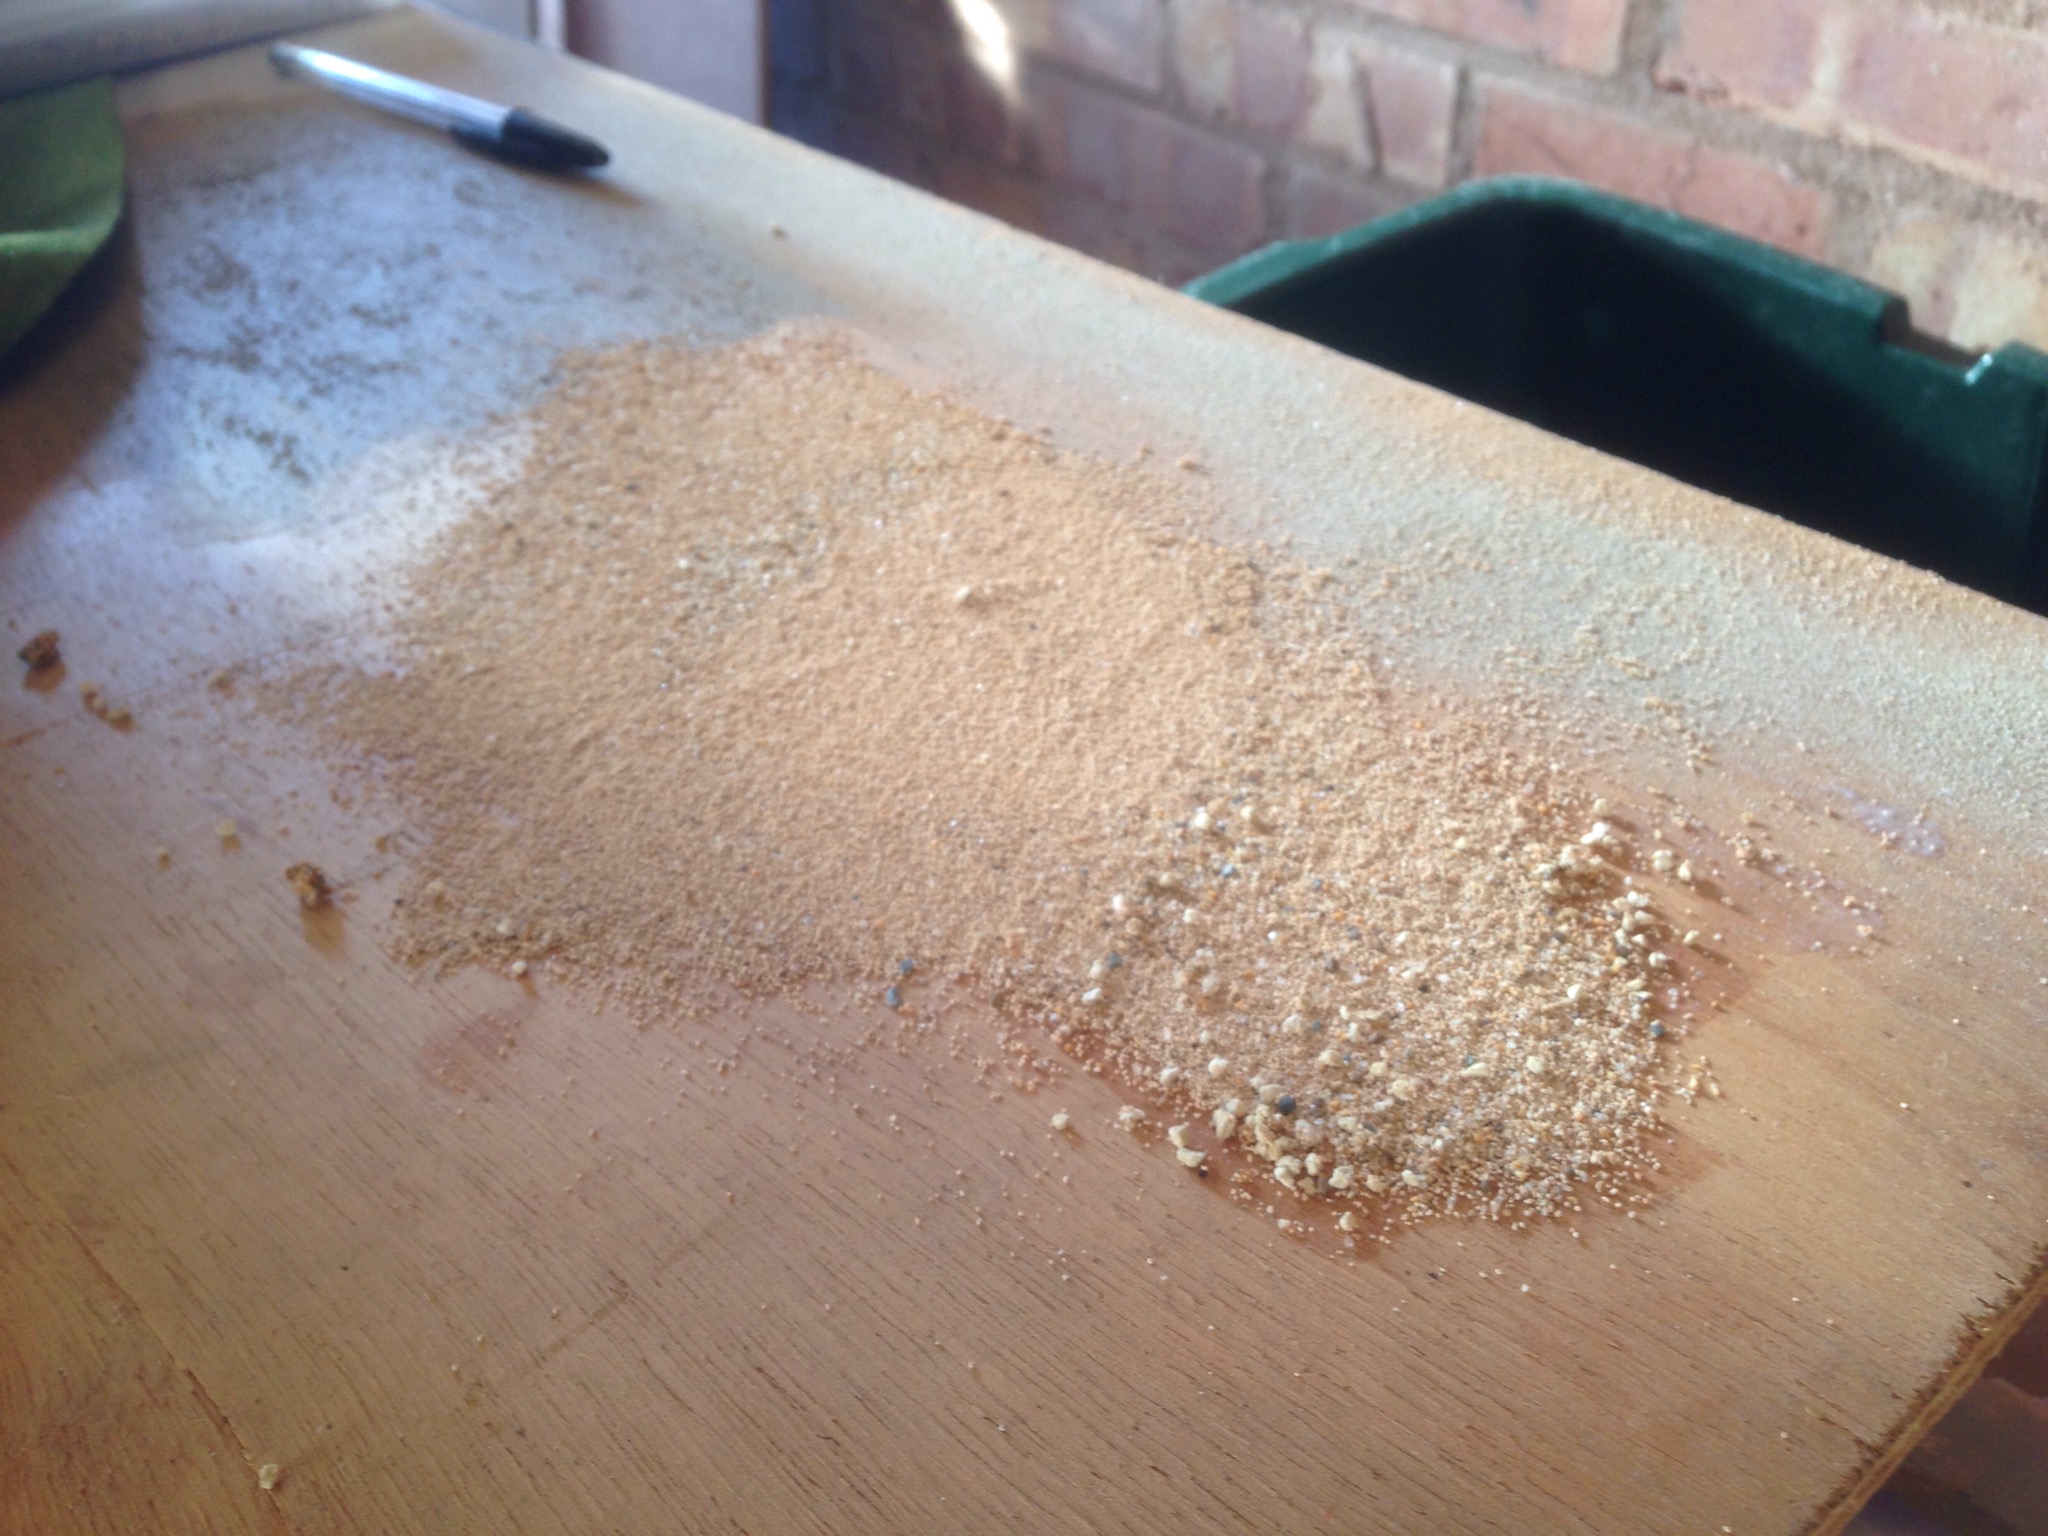
I then looked at simply glueing sand to my game board or painting it with the GW sand effect paint. While this would have provided an acceptable solution it would have been very boring to create and more importantly to game on. I wanted something that better justified the amount of effort I was going to put into the project. I went to a local model railway shop and bought a number of different grades of sand as well as some larger rocks, about £20 worth in all. I tryed out different combinations mixed in a cup until I found a mix I was happy with.
.
I then had a dig around my own base making kit to see what else o could add to the board to make it more visually interesting. I came across some slate which I though I could use for small scatter rocks.
Before applying the sand I gave the whole board a spray with GW Zandry dust, sand coloured paint.
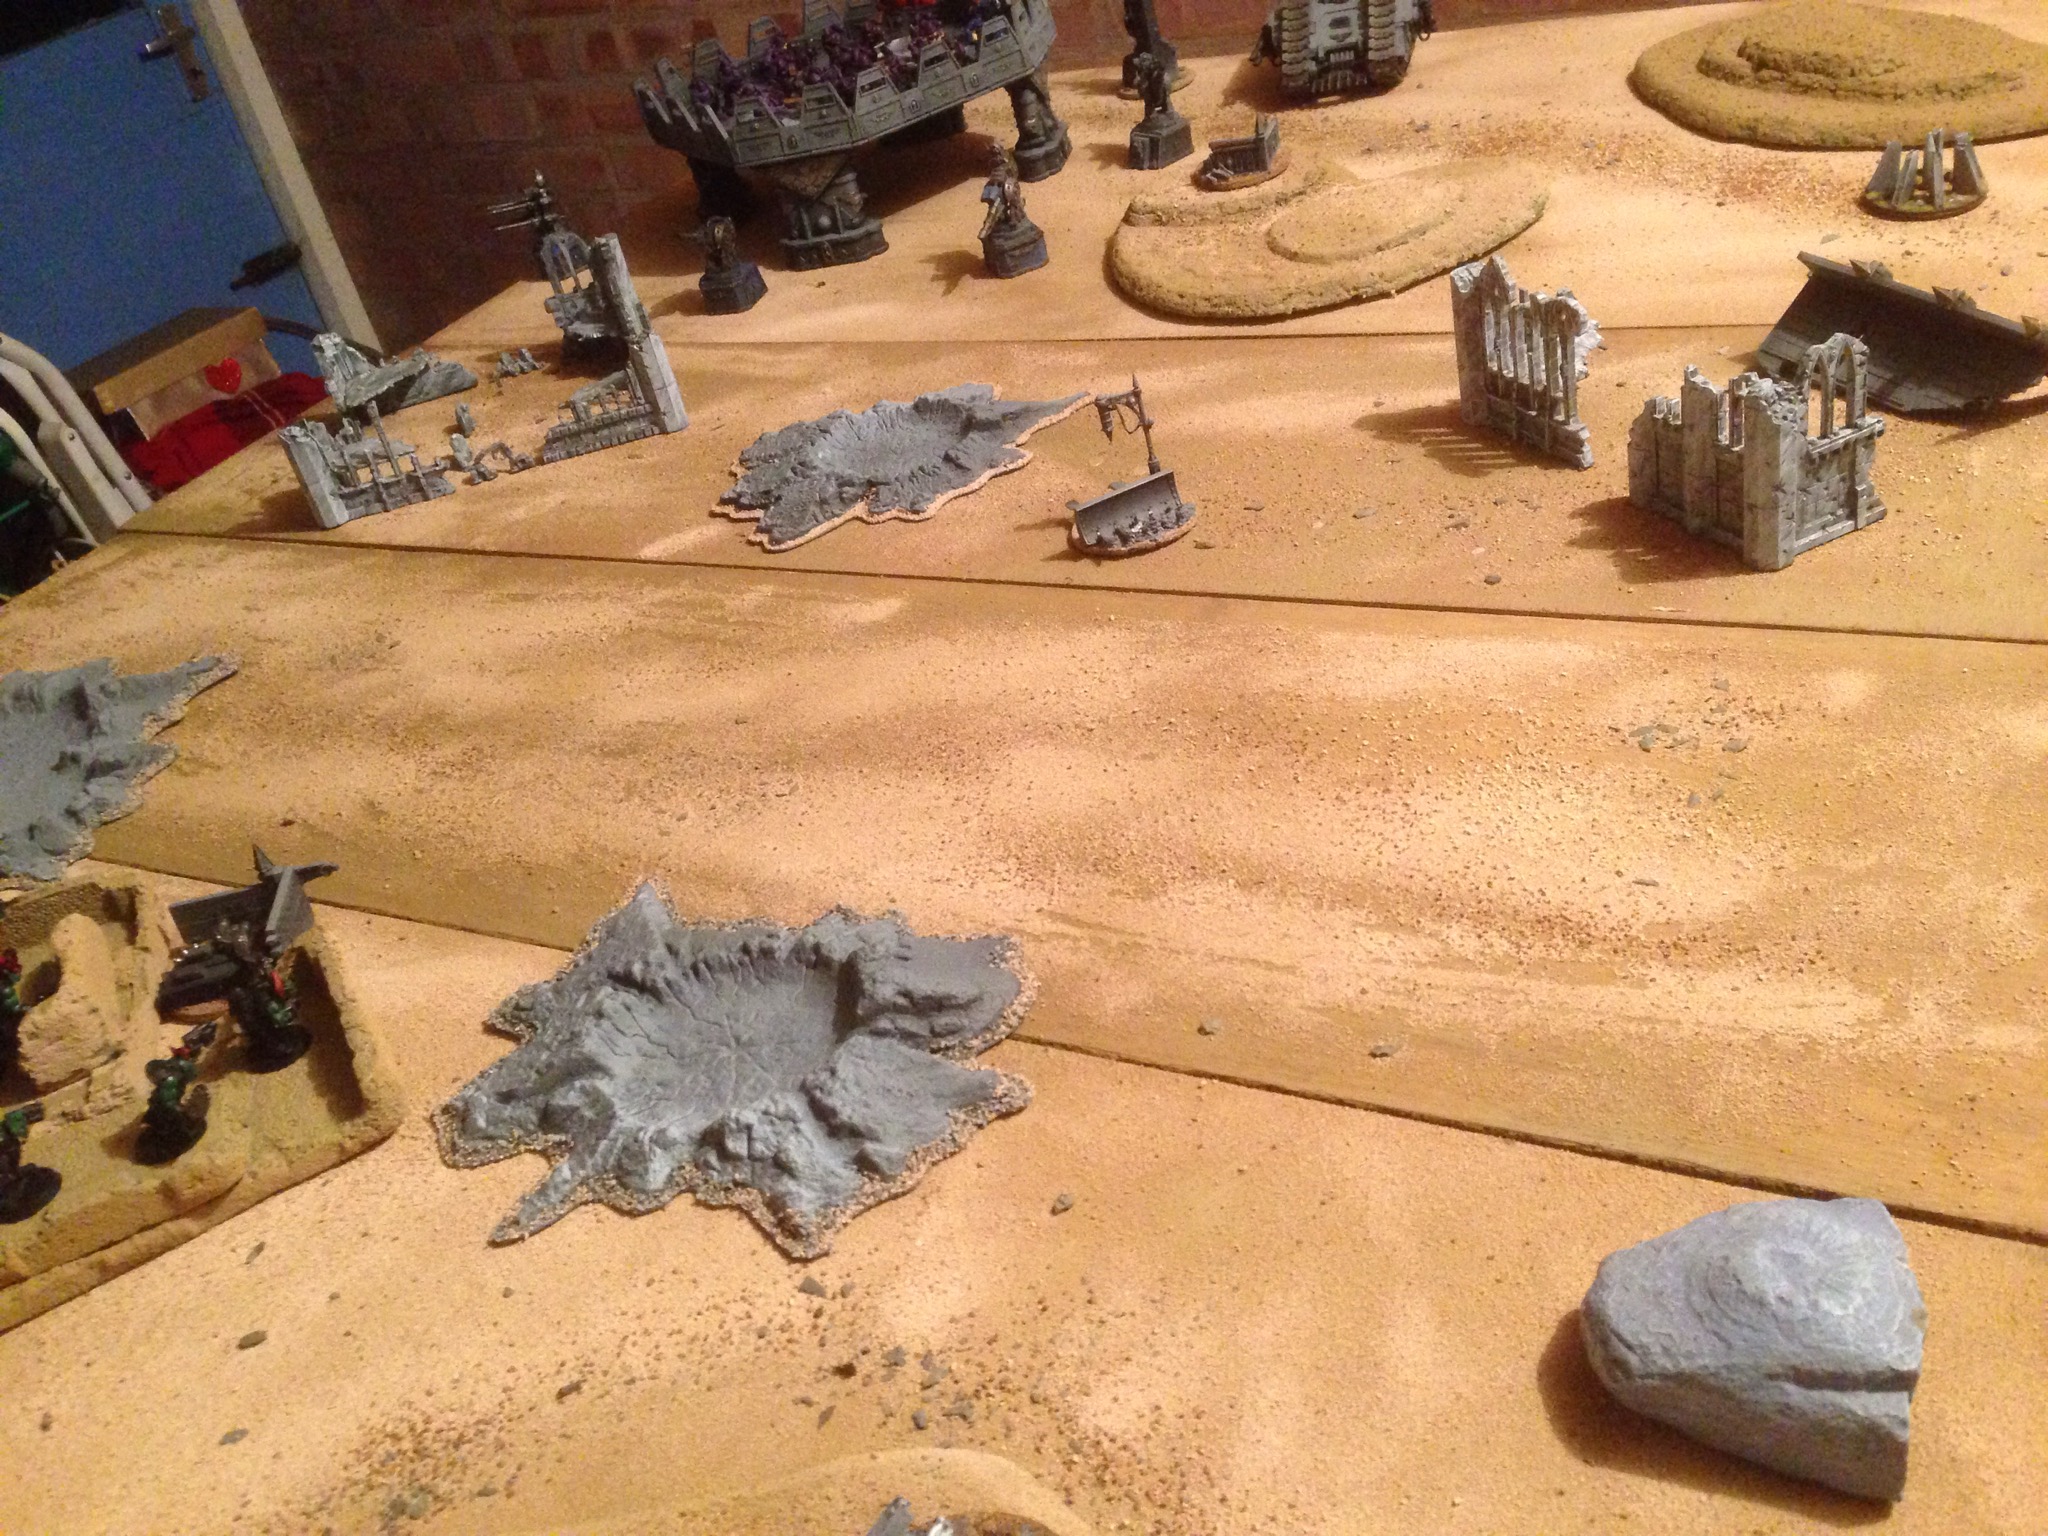
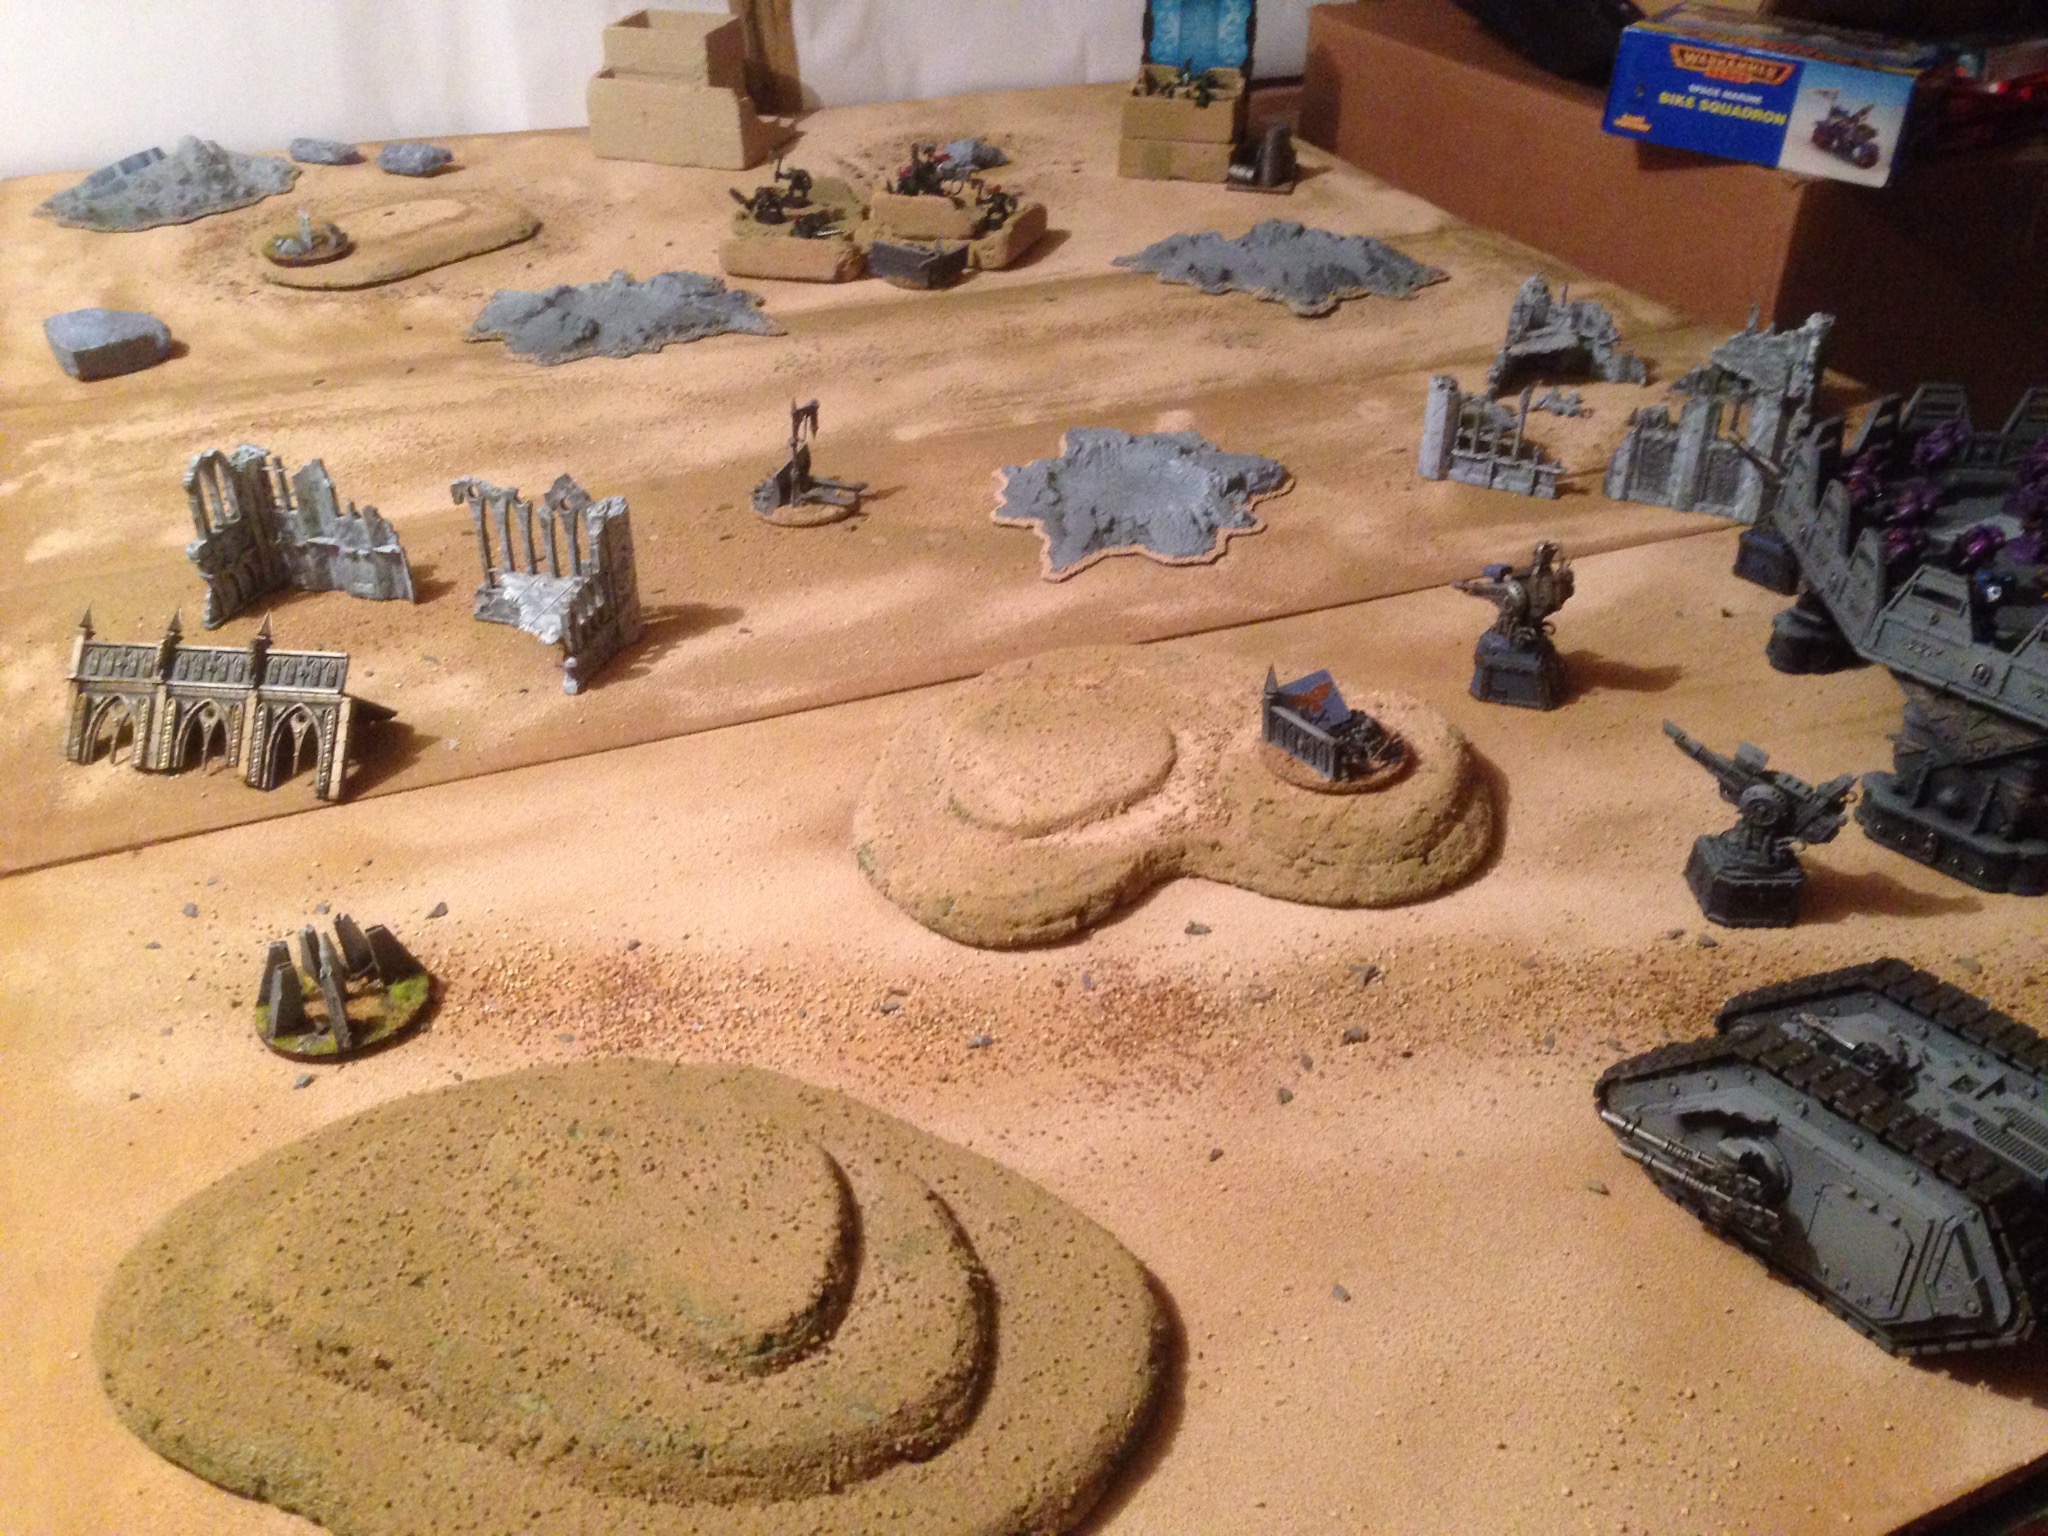
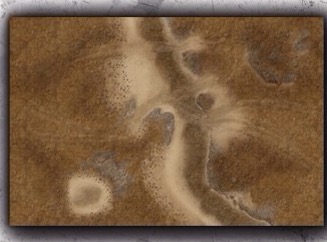
After giving this just about enough to time to dry, I used a sponge to damp down the wood and applied PVA neat. I used a plastics ruler to spread out the PVA around each board section. Some one who had done a textured board told me bush would have created brush marks in the PVA. I started the texture application by sprinkling on my largest basing slate, then smaller slate pieces, then rocks and then worked I worked down the coarseness of my different sands to create natural patterns, I tried to represent two craters on one section of the board and a rock ridge on another, but this ended up looking more like a path. Most of the sands where applied by dropping them on to the board from about 30cm, this to reduces man made patterns in the rocks. Once all the larger rocks and sand were applied I created wind effects by dropping on the smallest grade of sand from about 15cm away. This all took about 3 hours.
Once the sand has had a bit of time to dry on, I sprayed sections with GW Zandry dust paint to break up the sand pattens.
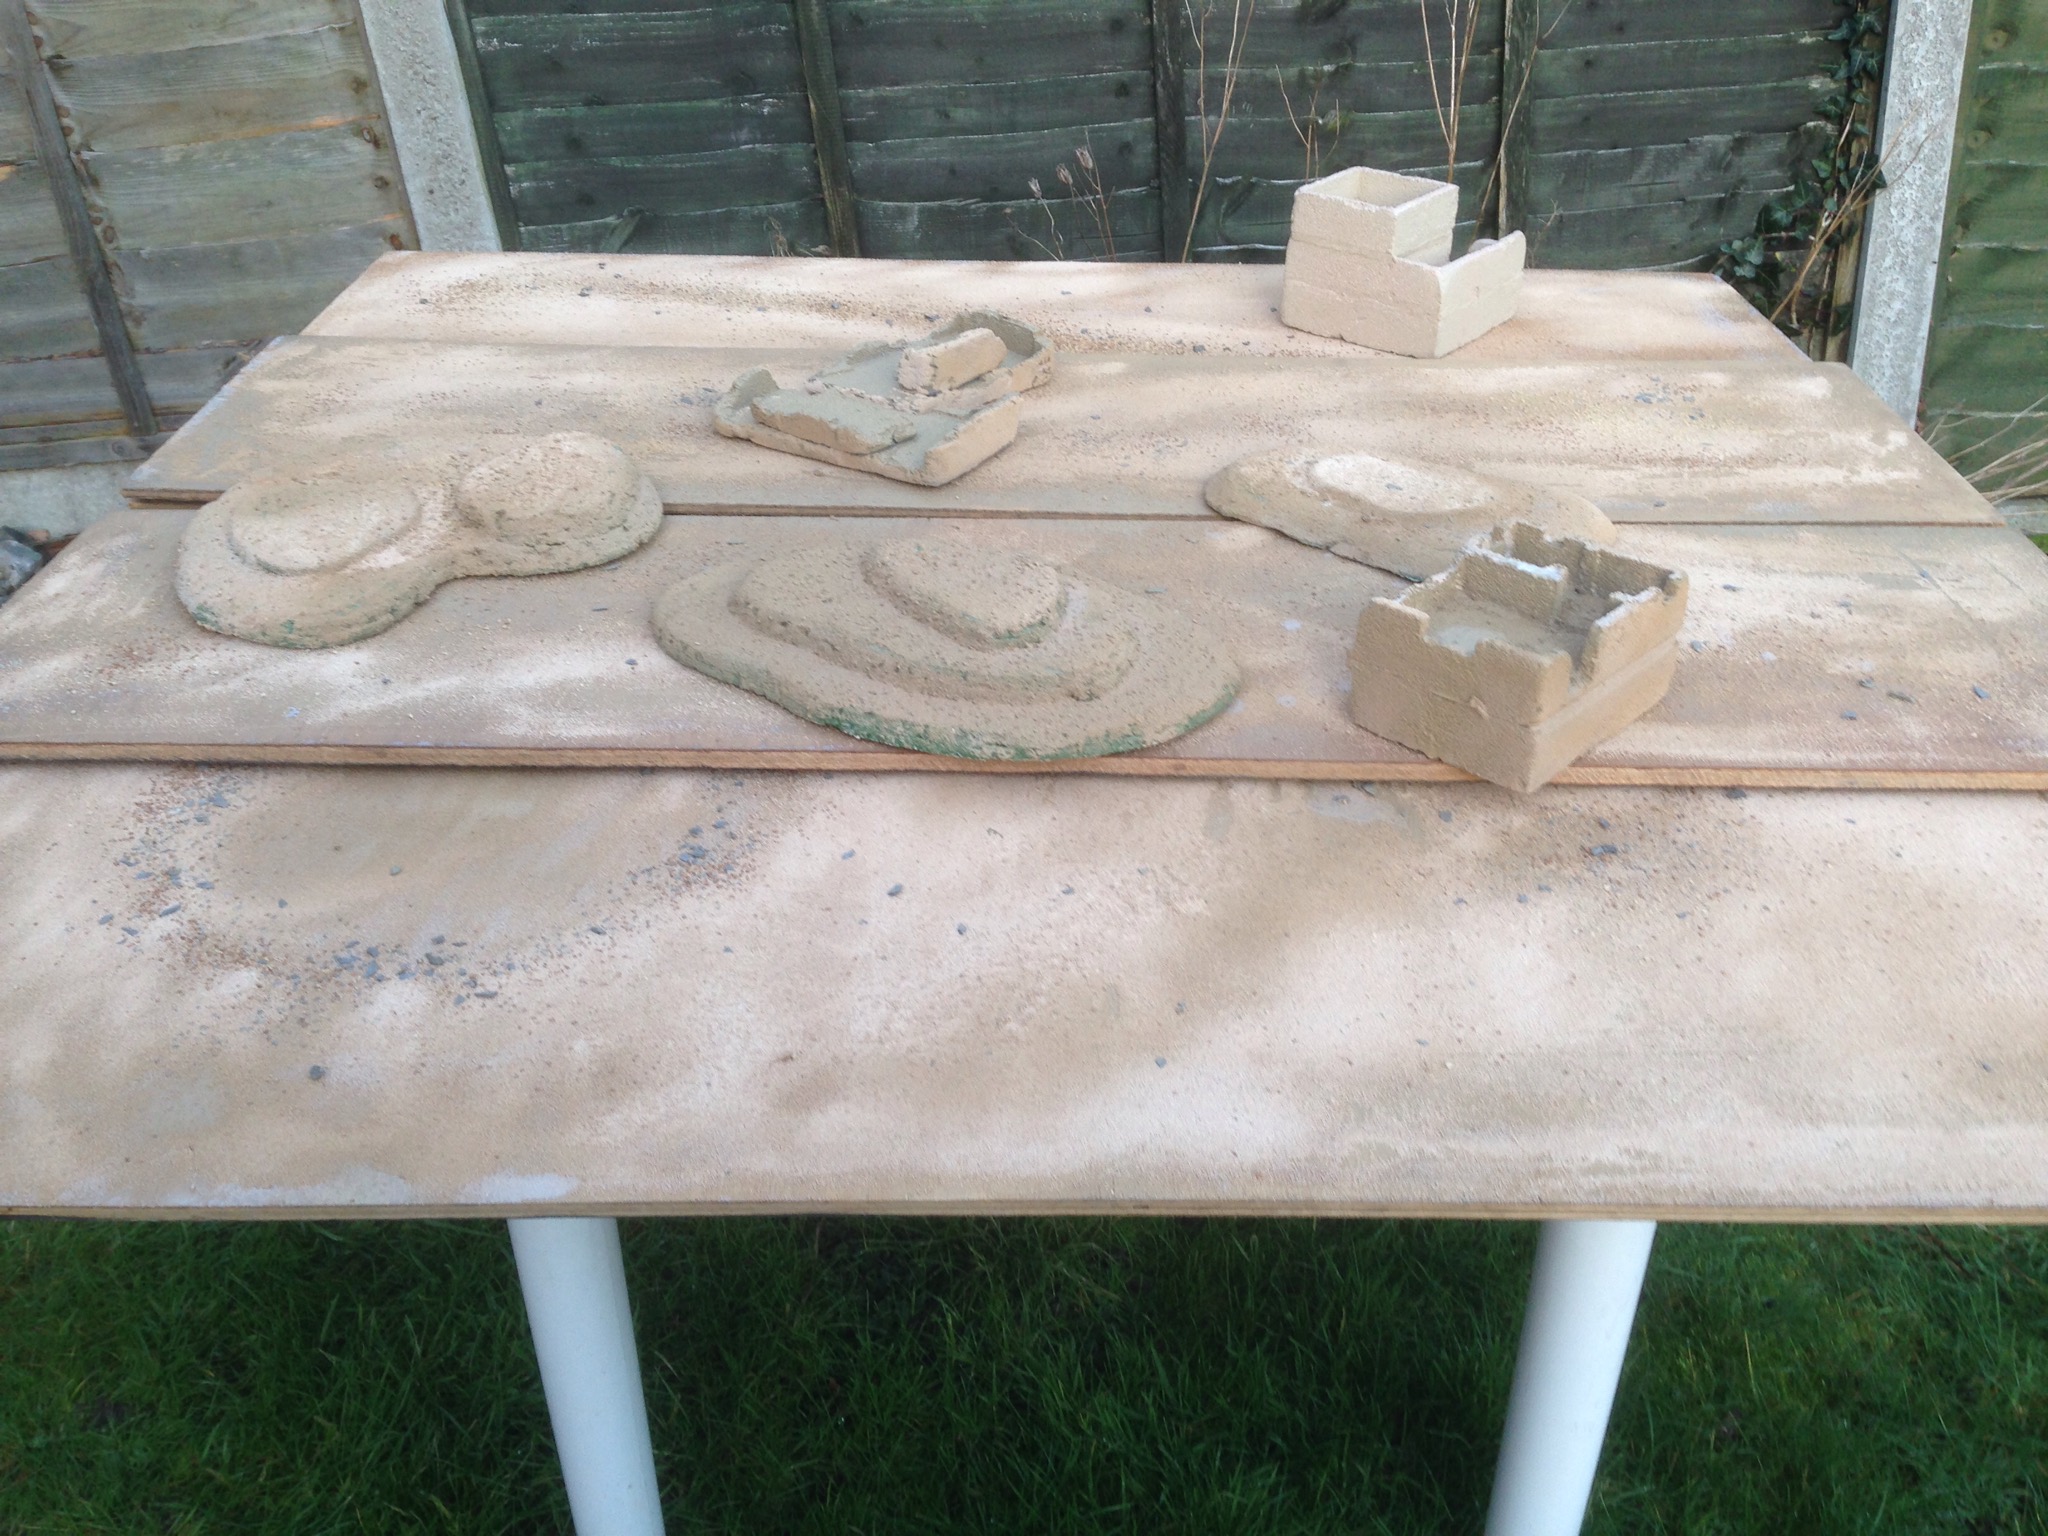
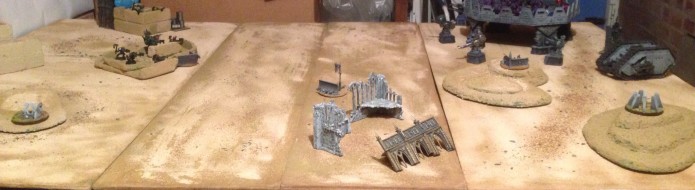
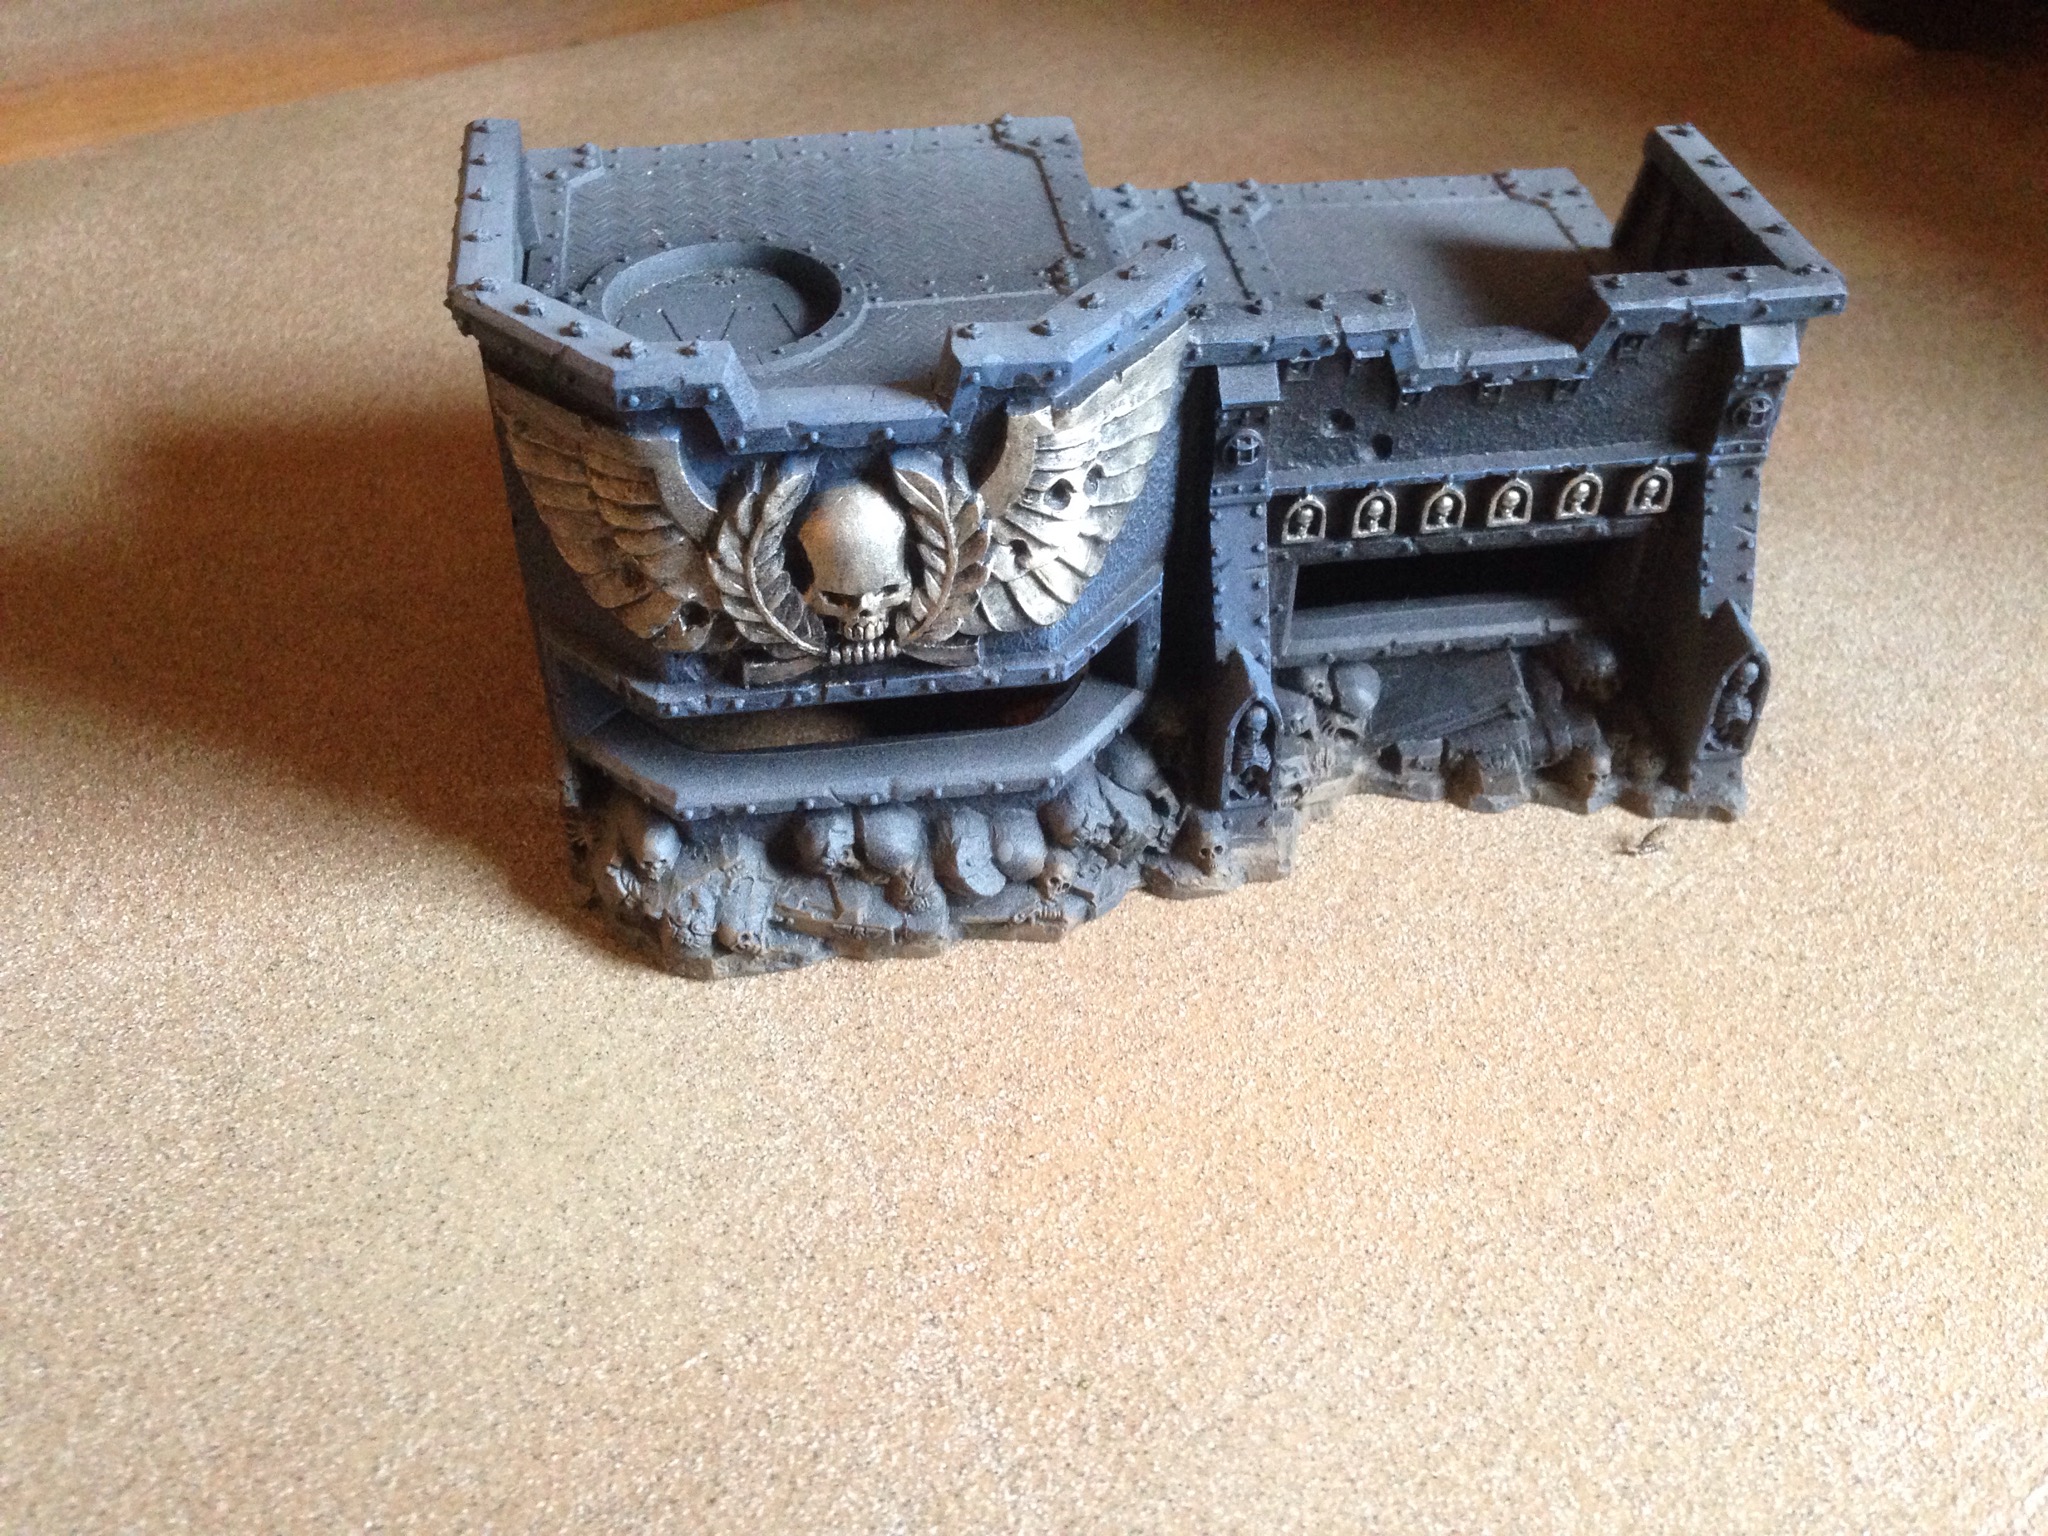
I then applied the same sand a paint to some old buildings and hills. I also edged some of my craters with sand and called it a day. All this had taken around 5 hours. Although there are a few patches Witch needs a second application I’m very happy with the results.
And the cost?
Sand (model shop) £30
Spray paint and purity seal (GW) £30
Sand spray (HomeBase) £10
Sand pants and 1.5l of PVA (GW and pound land) £10
48x72x6mm Hard board (estimate wicks) £25
Polystyrene (skip) free.
Total build time inc hills and buildings 10 hours.
Total £105